Want an easy way to do computer colouring for your Ever After High original character?
I am Thenaturals, and lucky for you, I use computer colouring to make my original characters look colourful. I don't have Photoshop or any fancy programme like that - all I use is MS Paint.
I have decided to bring you a guide to basic computer colouring using Paint.
What you need[]
- A working pen
- A sheet of paper
- A scanner connected to your computer
- A computer with MS Paint
Chapter 1 ~ Pen to Paper[]
The Drawing Board[]
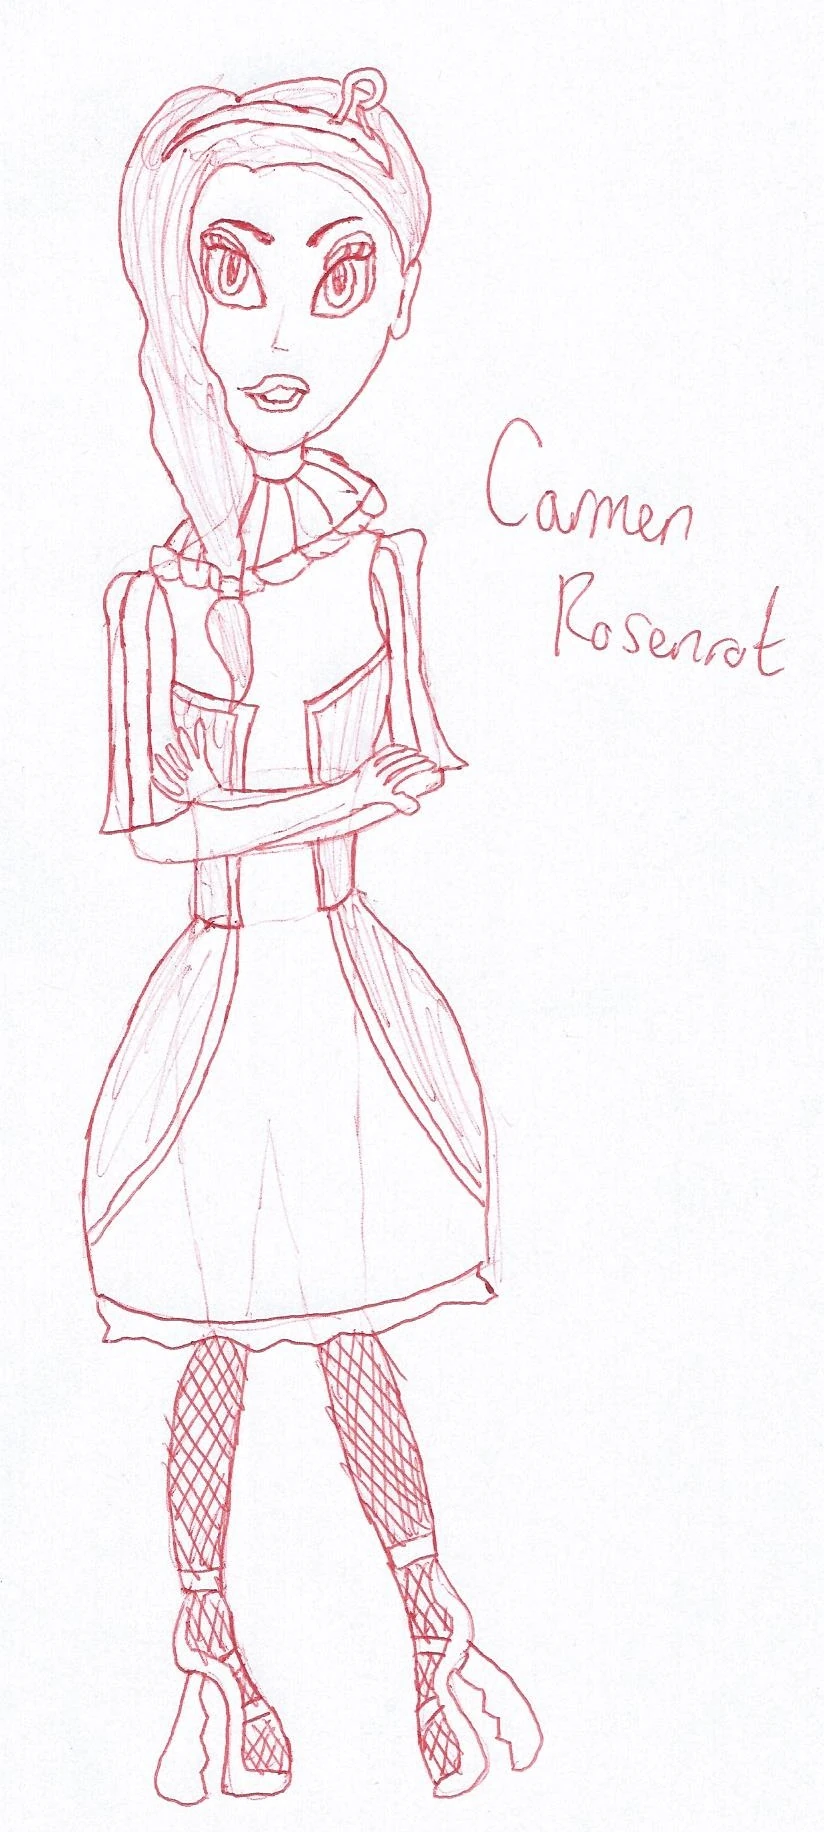
My original sketch for Carmen Rosenrot.
First thing you do is grab a piece of paper. You will need to draw out your character first, in any colour pen, as good as you can get it. It doesn't have to be perfect, as it will be edited on Paint. I have done some messed up sketches before, but it is easy to remove. On the right hand side, it is the original sketch for my original character Carmen Rosenrot. As you can see some things on the sketch are edited on the final piece. I have drew this on a paper base, so that's why you see the outlines. I do this to get a form similar to my other characters rather than them all being oblong. This is similar to bases on the computer, only this one is less noticeable on the final piece as it is coloured over.
Scanning and Arranging[]
After you have drew your character out, you will need a scanner. You scan the picture and save it onto your computer. Make sure it selects the whole sheet, and for heavens sake, make sure there's a preview mode. If you have put the sheet in the wrong way, you can still rotate the picture.
After you have done this, copy the character onto a new document on Paint. You need to access the picture via Paint, go on the arrow below 'select' and click 'select all' then copy. Go onto a new document in Paint, and paste the picture. Now you are ready for the next stage of the tutorial.
Chapter 2 ~ Colouring Preparation[]
You should leave a gap around each edge of the picture, because I'm so nitpicky and in my opinion, the stress of colouring over the edges and not confusing your eyes is too much. The picture on the left shows how the gap should look, but if you want to make it bigger, feel free.
This next stage is crucial to making the colouring as simple and un-stressful as possible, with the help of this prep stage. If you are on Windows 7 Paint, make sure that these settings are on:
- Put both colours on a colour that won't be on the character.
- Put the 'Fill' mode on solid
- Make sure the lines are not too big. I recommend size 2, though if you are gutsy enough to pick size 1, be very careful.

Next, use the oblong shape tool (it should be shaped like a tilted 'L') and go around the character, so that the background is all one colour. Make sure to fill in any gaps such as between the arms, legs and hair. Keep it on this colour. DO NOT change the background back to white yet.
On the right hand side, the picture shows how (part of) your character should look. This isn't Carmen but instead a character from my Absolutely U project. The next stage is colouring the actual character.
Chapter 3 ~ Face Value[]
I always do the character's face first, then move onto the body. You do not have to do this but since it is at the top I usually start there and work my way down. Obviously if your character has no face, you won't need most of this part, but listen anyway.
Believing Your Eyes[]

You need to do the outline around the eyes. Change the first colour to a suitable outline (I usually choose black) and the second should be the whites of the eye (or the sclera). Essentially, throughout the process, you do the first colour as an outline and the second as the actual colour of the item. Then, put on the colour face. Use an accurate skin tone and go around the eyes and lips. You may need to do it in sections, and if there are lines where they shouldn't be, simply remove then.
Do this process for the lips too. Then do some eyebrows (don't just draw two lines) and a nose.
An important note on colours[]
Be sure to look for colours elsewhere, don't just pick the ones preset. Go on Google (or Bing, Yahoo, or whatever) and search 'shades of (put colour here)'. It adds variety to the character and it sets them apart from others very well. For more accurate, human-like colours, search 'lip colours', 'eye colours', 'hair colours' and 'skin tones'. I recommend using charts for these.
Chapter 4 ~ Basically the Whole Process[]
Do this outline trick for all of the objects on your character. Clothes, hair, shoes, textures, etc should be all coloured. Be sure to not leave ANY pixels from the sketch, as it looks very unprofessional. Trust me, I have done bad colouring before!
It is not law to follow the exact drawing. You may edit and change things on your drawing for the final piece. I always seem to deviate from the sketch, maybe because I've changed my mind on certain details. However, make sure you get it to exactly how you like it. It may take a good two or three goes, maybe more, to get it perfect.
Chapter 5 ~ Checking and Completion[]


Finishing touches[]
Once you have completed this process fully, check if there's any leftover spaces from the sketch still there, and fill them in. Little bits that you know you will have problems with, change them to make it simpler. After you have done this, take away the coloured background. Check for any gaps where the background still is.
Voila![]
Now you have your character in the flesh! Save the final image, and upload it to wherever. If you're wondering how Carmen Rosenrot turned out, she's on the right hand side. I changed a few things, added a few things, and that's okay. I think she turned out beautifully. However, if you look carefully, I forgot to remove the background in the hole on the 'R'. Silly me.
If you are ready to try this out, be sure to tell me when you've finished, and I will take a look. If it's Ever After High, upload it here. If it's Monster High, upload it to the Monster High Fandom Wiki (I am an admin there).
Don't forget to take a look at other characters for inspiration, but don't even think about copying! Zena and I will be closely watching...
That's it for today's tutorial. Thank you and good luck!